
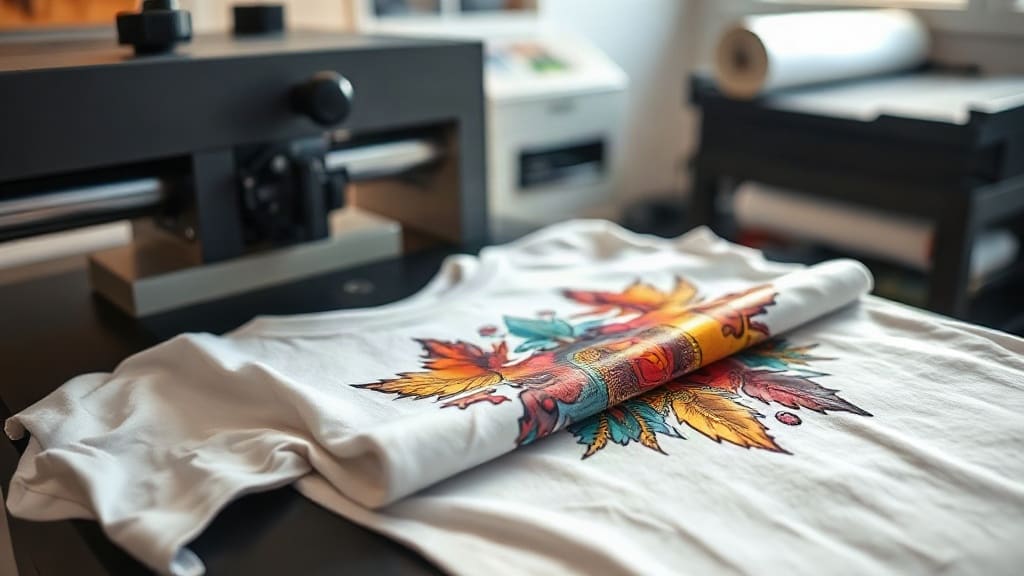
Custom apparel has never been more accessible, thanks to innovative printing technologies like DTF transfers. Whether you're a small business owner looking to offer personalized products or a DIY enthusiast wanting to create unique t-shirts, understanding DTF transfers can open up a world of possibilities. Unlike traditional methods that require specific fabrics or complex setups, DTF transfers offer versatility and vibrant results on almost any material. In this guide, we'll dive into what DTF transfers are, how they work, and how you can use them to bring your designs to life.
What Are DTF Transfers?
DTF stands for Direct to Film. It's a printing method where your design is printed onto a special film, coated with a adhesive powder, and then heat-pressed onto the fabric. The process involves a DTF printer that uses pigment-based inks to print the design onto a PET film. After printing, a powder adhesive is applied to the wet ink, and the film is cured. The result is a transfer that can be stored and used later. When you're ready, you heat-press the transfer onto your garment, peel off the film, and the design remains bonded to the fabric. This method is gaining popularity because it works on a wide range of fabrics, including cotton, polyester, blends, and even leather.
Why Choose DTF Transfers?
There are several reasons why DTF transfers have become a go-to for custom apparel creators. Let's explore the key benefits.
Versatility Across Fabrics
One of the biggest advantages of DTF transfers is their ability to adhere to almost any fabric. Unlike heat transfer vinyl (HTV) that requires specific materials, or screen printing that works best on cotton, DTF transfers bond well to cotton, polyester, nylon, leather, and more. This makes them ideal for printing on a variety of garments, from t-shirts and hoodies to tote bags and caps.
Vibrant and Durable Prints
DTF transfers produce bright, opaque colors that stand out. The pigment inks used in DTF printing are known for their vibrancy, and the adhesive powder ensures the design stays put even after multiple washes. When applied correctly, DTF prints can withstand wear and tear, making them a durable option for everyday apparel.
Cost-Effective for Small Batches
For small businesses or individuals, DTF transfers are cost-effective because they don't require minimum order quantities. You can print one-off designs or small batches without the setup costs associated with screen printing. This makes DTF transfers perfect for personalized gifts, sample products, or limited-edition runs.
No Weeding Required
Unlike HTV, which requires you to weed out excess vinyl, DTF transfers come ready to press. The design is printed on the film, and after applying the powder and curing, you simply press it onto the fabric and peel. This saves time and reduces the risk of errors, especially for intricate designs with fine details.
How to Apply DTF Transfers
Applying DTF transfers is straightforward, but following the correct steps ensures a professional finish. Here's a step-by-step guide.
Step 1: Prepare Your Workspace
Set up a heat press on a sturdy surface. Ensure the press is level and the pressure is even. You'll also need a heat-resistant mat or parchment paper to protect your garment and press.
Step 2: Preheat the Garment
Preheat your heat press to the recommended temperature, usually around 300°F to 325°F (150°C to 160°C). Place your garment on the press and pre-press for 5-10 seconds to remove moisture and wrinkles. This step helps the transfer adhere better.
Step 3: Position the Transfer
Place the DTF transfer onto the garment with the printed side facing up. If your transfer has a clear film backing, ensure the design is positioned correctly. Use heat-resistant tape to hold it in place if needed.
Step 4: Press the Transfer
Close the heat press and apply medium to firm pressure for 15-20 seconds. The exact time and temperature may vary depending on the film and adhesive used, so always check the manufacturer's instructions. For best results, use a temperature of 325°F and press for 15 seconds.
Step 5: Peel the Film
After pressing, allow the transfer to cool completely before peeling off the film. This is known as a cold peel. Peel the film slowly and evenly. If the design lifts with the film, it means the transfer wasn't pressed long enough or the pressure was insufficient. In that case, re-press for a few more seconds.
Step 6: Post-Press for Durability
For added durability, especially if the garment will be washed frequently, cover the design with parchment paper and press again for 5-10 seconds. This helps the adhesive fully bond with the fabric.
Common Mistakes to Avoid with DTF Transfers
Even though DTF transfers are user-friendly, some common pitfalls can affect the outcome. Here are a few to watch out for.
- Insufficient pressure: If the pressure is too low, the transfer may not adhere properly, leading to peeling. Adjust your heat press to medium-firm pressure.
- Wrong temperature: Too high a temperature can scorch the fabric or cause the transfer to melt. Always follow the recommended settings.
- Peeling too soon: Peeling while the transfer is still hot can stretch the design. Wait for it to cool completely.
- Not pre-pressing: Skipping the pre-press can leave moisture in the fabric, causing poor adhesion.
DTF Transfers vs. Other Printing Methods
How do DTF transfers stack up against other popular printing techniques? Let's compare.
DTF vs. Screen Printing
Screen printing is cost-effective for large orders but requires separate screens for each color, making it less practical for small batches or multi-color designs. DTF transfers, on the other hand, handle complex, full-color designs with ease and no minimum order. However, screen printing can offer a softer feel on the fabric for large runs.
DTF vs. HTV
HTV is great for simple designs and works well on cotton, but it requires weeding and layering for multi-color designs. DTF transfers eliminate weeding and can print gradients and fine details that HTV cannot. DTF also adheres to more fabric types.
DTF vs. DTG
Direct-to-garment (DTG) printing is limited to cotton fabrics and requires pretreatment. DTF transfers work on a wider range of materials and don't need pretreatment, making them more versatile. However, DTG can produce a softer print for cotton garments.
Tips for Getting the Best Results
To ensure your DTF transfers look professional and last long, keep these tips in mind.
- Store unused transfers in a cool, dry place away from direct sunlight.
- Use a heat press rather than an iron for consistent temperature and pressure.
- Test on a scrap piece of fabric before pressing onto your final garment.
- Wash garments inside out in cold water and avoid bleach to prolong the life of the print.
Frequently Asked Questions
Can I use DTF transfers on dark fabrics?
Yes, DTF transfers include a white ink layer that allows them to show up vibrantly on dark fabrics. The white base ensures the colors remain opaque and bright.
How long do DTF transfers last?
With proper application and care, DTF transfers can last as long as the garment itself. They are durable and resistant to cracking and fading when washed correctly.
Do I need a special printer for DTF transfers?
Yes, DTF printing requires a DTF printer that uses pigment inks and a shaker machine for applying adhesive powder. However, you can also purchase pre-made DTF transfers from suppliers if you don't want to invest in the equipment.
Can I stretch the garment after applying a DTF transfer?
DTF transfers have some elasticity, but excessive stretching can cause the design to crack over time. It's best to avoid stretching the printed area too much.
What fabrics work best with DTF transfers?
DTF transfers work on a wide range of fabrics, including cotton, polyester, blends, nylon, and leather. They are particularly good for polyester and blends where other methods may struggle.