
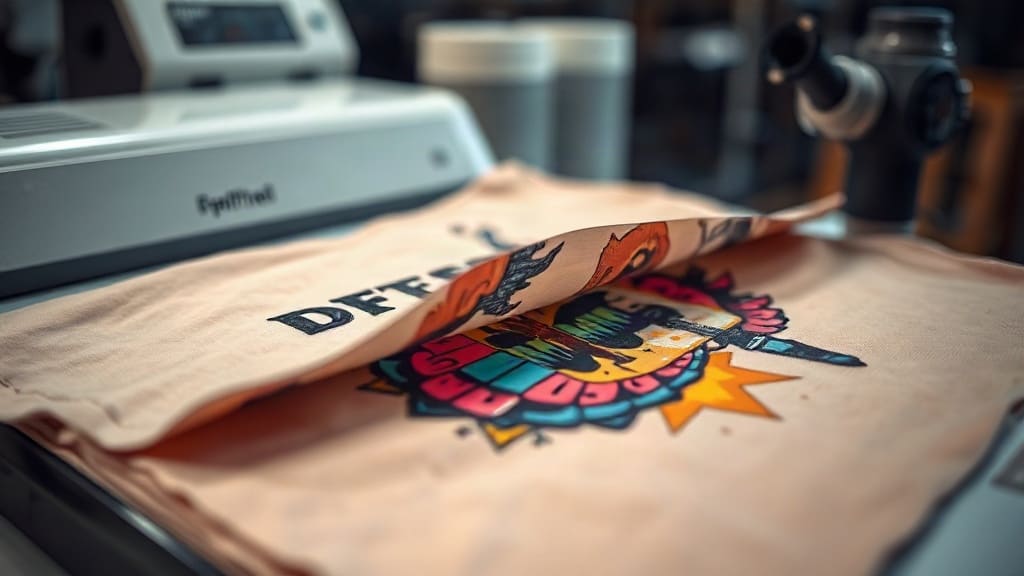
If you're new to the world of custom apparel, you've likely heard about DTF transfers. This innovative printing method is taking the industry by storm, offering vibrant colors and incredible durability on a wide range of fabrics. But what exactly are DTF transfers, and how can you use them to create stunning garments? In this guide, we'll walk you through everything you need to know, from the basics of DTF printing to pro tips for flawless results. Whether you're a hobbyist or a small business owner, mastering DTF transfers can open up a world of creative possibilities.
What Are DTF Transfers?
DTF stands for Direct to Film. It's a printing technology where your design is printed onto a special PET film using a DTF printer. The design is printed with water-based inks, and then a thermoplastic powder (often called hot melt adhesive) is applied to the wet ink. After the powder is shaken off, the film is cured in an oven or with a heat press to melt the powder, creating a transfer that can be applied to fabrics. Unlike DTG (Direct to Garment) or screen printing, DTF transfers can be used on almost any fabric, including cotton, polyester, blends, and even leather. They also don't require pre-treatment, making them a convenient option for small-scale production.
How DTF Transfers Compare to Other Printing Methods
When choosing a printing method, it's essential to understand the strengths and weaknesses of each. Here's how DTF transfers stack up against other popular techniques:
- DTG (Direct to Garment): DTG prints directly onto the garment, which means it works best on 100% cotton. It can be costly for small runs and requires pre-treatment. DTF, on the other hand, works on nearly any fabric and has a lower cost per print for short runs.
- Screen Printing: Screen printing is cost-effective for large orders but requires separate screens for each color, making it impractical for complex, multi-color designs or small batches. DTF excels with detailed, full-color designs and single-piece production.
- Vinyl (HTV): Heat transfer vinyl is great for simple shapes and text but can't handle intricate details or gradients. DTF transfers can reproduce photographic images and fine details with ease.
Overall, DTF transfers offer a versatile, high-quality solution that bridges the gap between digital printing and traditional methods.
Step-by-Step: Creating and Applying DTF Transfers
Getting started with DTF transfers involves a few key steps. Here's a breakdown of the process from design to finished product.
1. Design Preparation
Start with a high-resolution image (300 DPI is recommended). DTF printers can handle full-color designs, gradients, and fine lines, so let your creativity flow. However, keep in mind that the design will be printed in reverse, so make sure to mirror it horizontally before printing. Also, consider the fabric color: DTF transfers include a white ink layer, so they show up well on both light and dark garments. But if you're printing on a dark shirt, the white layer will be behind the colors, ensuring they pop.
2. Printing and Powdering
Load the PET film into your DTF printer and print your design. While the ink is still wet, sprinkle the hot melt adhesive powder evenly over the print. Then, shake off the excess powder. You can use a powder shaker machine for even coverage. Next, cure the film in an oven at around 160°C (320°F) for 2-3 minutes, or use a heat press at 160°C for 30-60 seconds. The powder should melt and become glossy. This step is crucial for the transfer's durability.
3. Pressing the Transfer
Set your heat press to 160°C (320°F) with medium pressure. Place the garment on the press, then position the DTF transfer on top with the design facing up. Cover it with a Teflon sheet or parchment paper. Press for 10-15 seconds. For best results, peel the film off while it's still warm (warm peel). If you let it cool completely, the adhesive might set too hard, making it difficult to remove the film cleanly. After peeling, press the garment again for 5-10 seconds to ensure the transfer is fully embedded into the fabric.
Tips for Flawless DTF Transfers
To achieve professional-looking results, keep these tips in mind:
- Choose the right film: Not all DTF films are created equal. Look for films designed for your printer and ink type. Some films are matte, some glossy, and they can affect the final feel.
- Control moisture: Moisture can ruin DTF prints. Store your film and powder in a dry place. If your powder clumps, it's a sign of moisture; dry it out before use.
- Test your settings: Every heat press is different. Do a test press on a scrap piece of fabric to dial in the temperature, pressure, and time. Too little heat and the transfer won't adhere; too much and the design might scorch or become stiff.
- Use a Teflon sheet: Always cover the transfer with a Teflon sheet or parchment paper to protect your heat press and prevent the design from sticking to the upper platen.
- Wash inside out: To prolong the life of your DTF-printed garment, wash it inside out in cold water and tumble dry low. Avoid ironing directly on the print.
Common Mistakes to Avoid
Even experienced crafters can run into issues. Here are some common pitfalls and how to avoid them:
- Not enough powder: If you don't apply enough adhesive powder, the transfer won't stick properly. Make sure the entire design is covered with a fine, even layer.
- Under-curing: If the powder isn't fully melted, the transfer will peel off after a few washes. Ensure the film reaches the correct temperature.
- Pressing on the wrong side: Always place the transfer with the design facing up. If you press the film side down, the design will stick to the Teflon sheet instead of the garment.
- Cool peel: As mentioned, warm peel is generally recommended for DTF. Waiting too long can make the film hard to remove.
Frequently Asked Questions About DTF Transfers
Can I use DTF transfers on 100% polyester?
Absolutely! DTF transfers work great on polyester, cotton, blends, and even nylon. The key is to adjust your heat press settings; polyester can be sensitive to high heat, so you might need to lower the temperature slightly (around 150°C) and press for a shorter time to avoid scorching.
How durable are DTF transfers?
When applied correctly, DTF transfers are highly durable. They can withstand dozens of washes without fading, cracking, or peeling. Proper washing (inside out, cold water) will extend their life even further.
Do I need a special printer for DTF transfers?
Yes, you need a DTF printer that uses DTF inks and can print on PET film. However, you can also buy pre-printed DTF transfers from suppliers if you don't want to invest in a printer. This is a great option for those who want to test the waters before committing to the equipment.
What is the difference between DTF and DTG?
DTF (Direct to Film) involves printing on a film and then transferring to the garment, while DTG (Direct to Garment) prints directly onto the fabric. DTF works on more fabric types and doesn't require pre-treatment, but DTG can be more cost-effective for large orders on 100% cotton.
Can I layer DTF transfers?
Yes, you can layer DTF transfers to create multi-color designs, but it's generally not necessary because DTF can print full-color images in one go. If you do layer, press each layer separately for a few seconds before applying the next.
With these insights, you're ready to dive into the world of DTF transfers. Remember, practice makes perfect, so don't be afraid to experiment with different fabrics and settings. Whether you're creating custom t-shirts for your team or launching a clothing line, DTF transfers offer a reliable and versatile solution that delivers professional results.